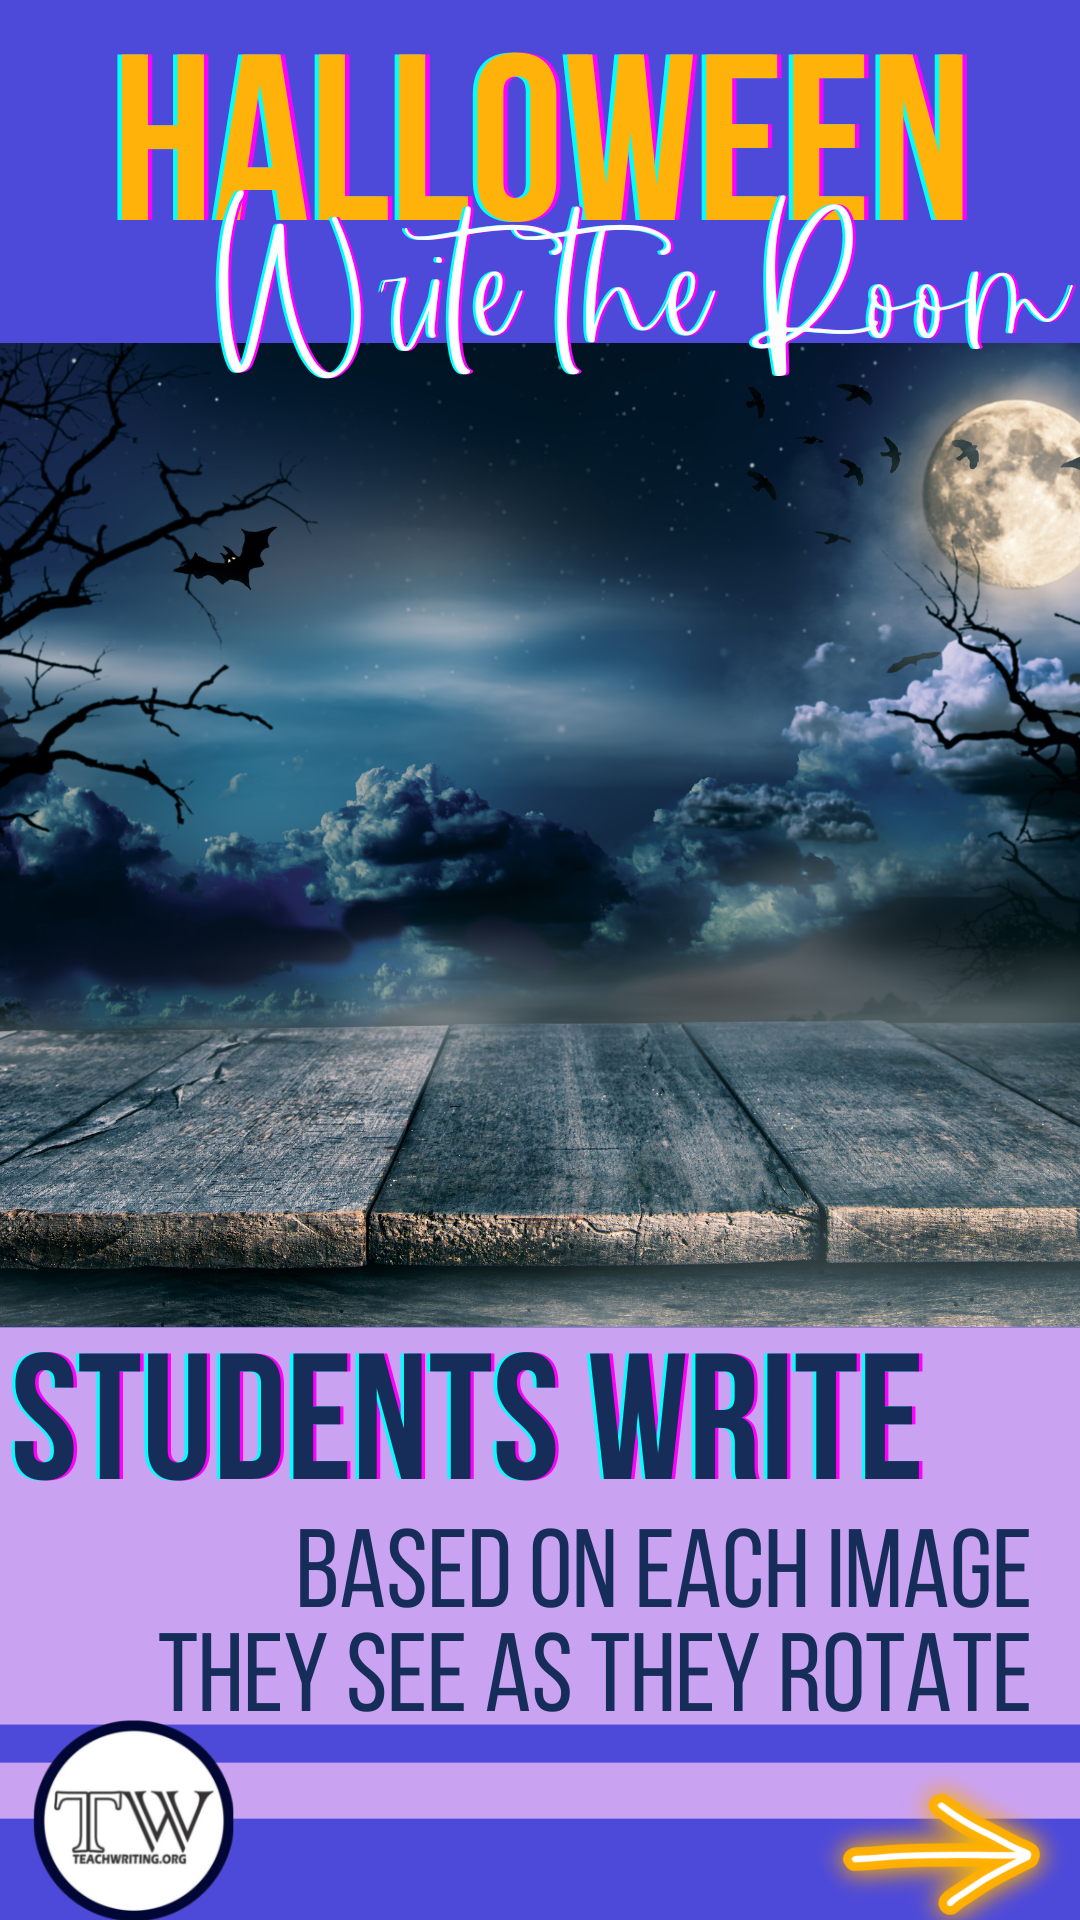
Halloween Write the Room: Spooky Season Creative Writing
Halloween writing activities seem to be plentiful in a Google search, but for me, it was always hard to find the right balance between rigorous, fun, and interactive. That’s how I developed one of my favorite Halloween writing activities: Halloween Write the Room. I had used a write-the-room style activity in previous years and it finally dawned on me that it was perfect for a spooky bit of fun when students are too sugared-out on candy and goofiness to sit still and write. This activity is the perfect blend of fun and movement and I hope you’ll give it a shot. Here’s a break down of a few different lesson plan variations for you to try!

What is Write the Room?
This lesson has shown up for me all over the internet in different iterations, but essentially, I’ve taken it to mean that students are moving around the room collecting ideas and writing as they go. Whether they’re following a writing prompt at different places around the room or they’re looking at pictures around the room, the idea is essentially stations tied with writing sprints. If I’m wrong or you’ve done it differently, I’d love to hear from you in a comment below!
Write the Room Idea #1:
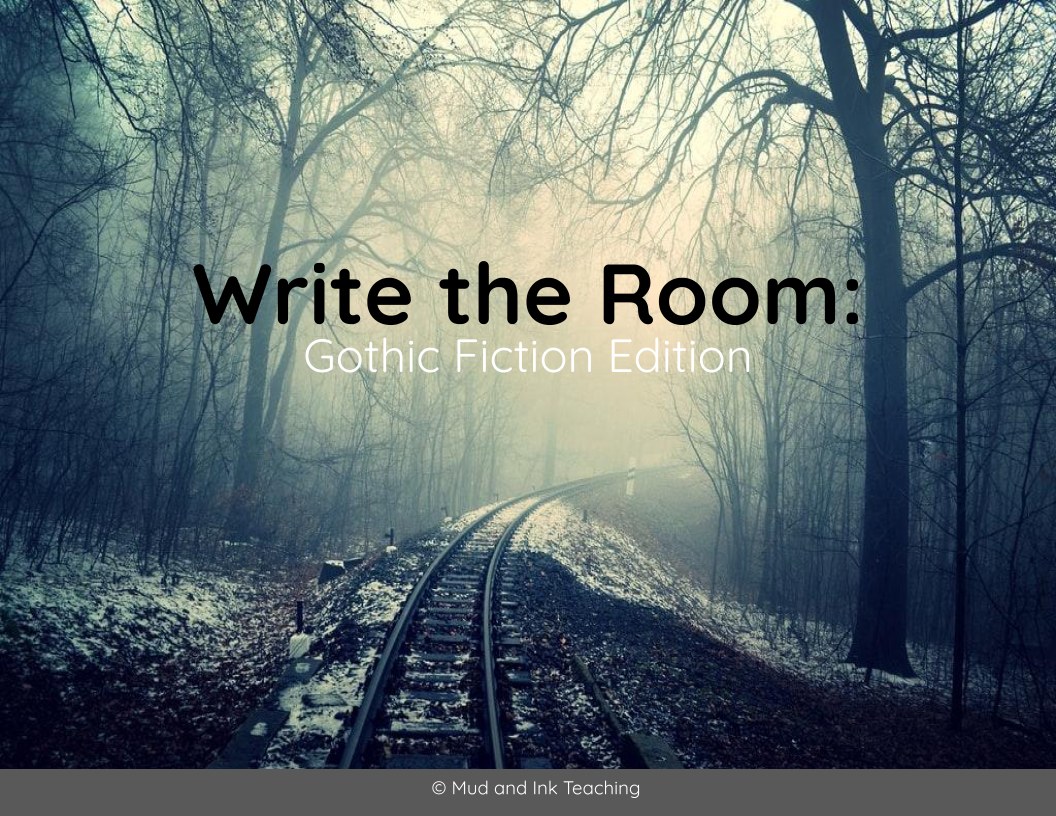
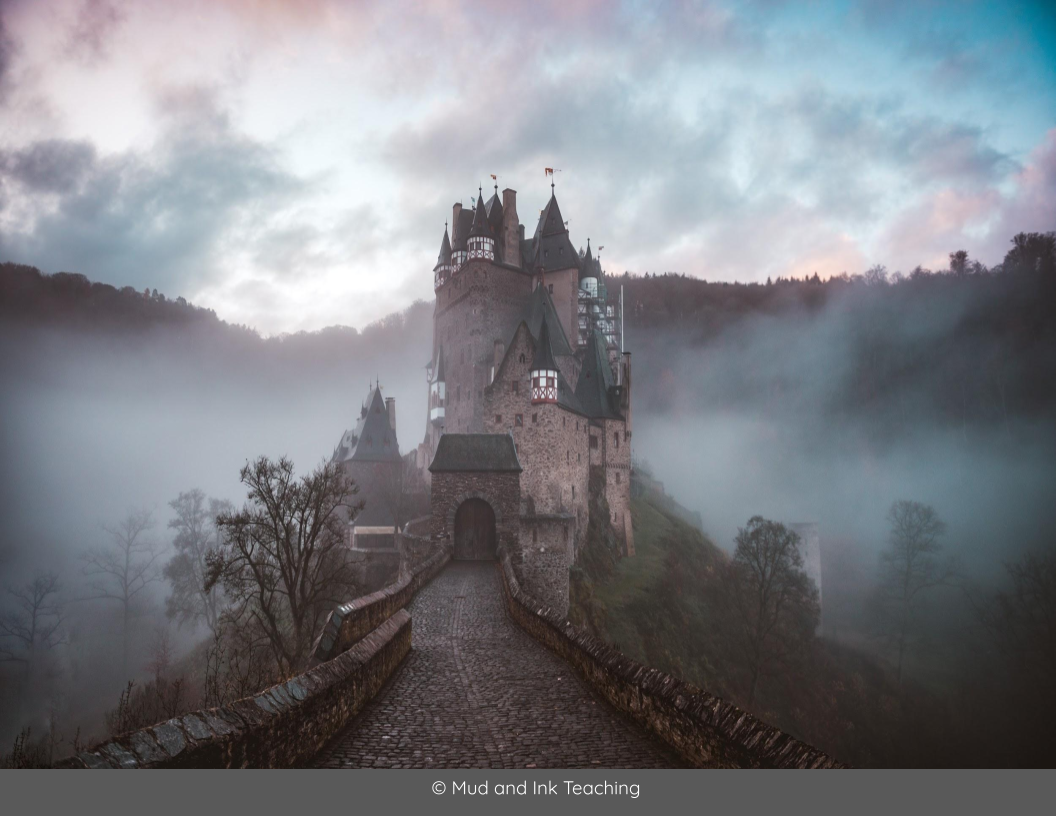
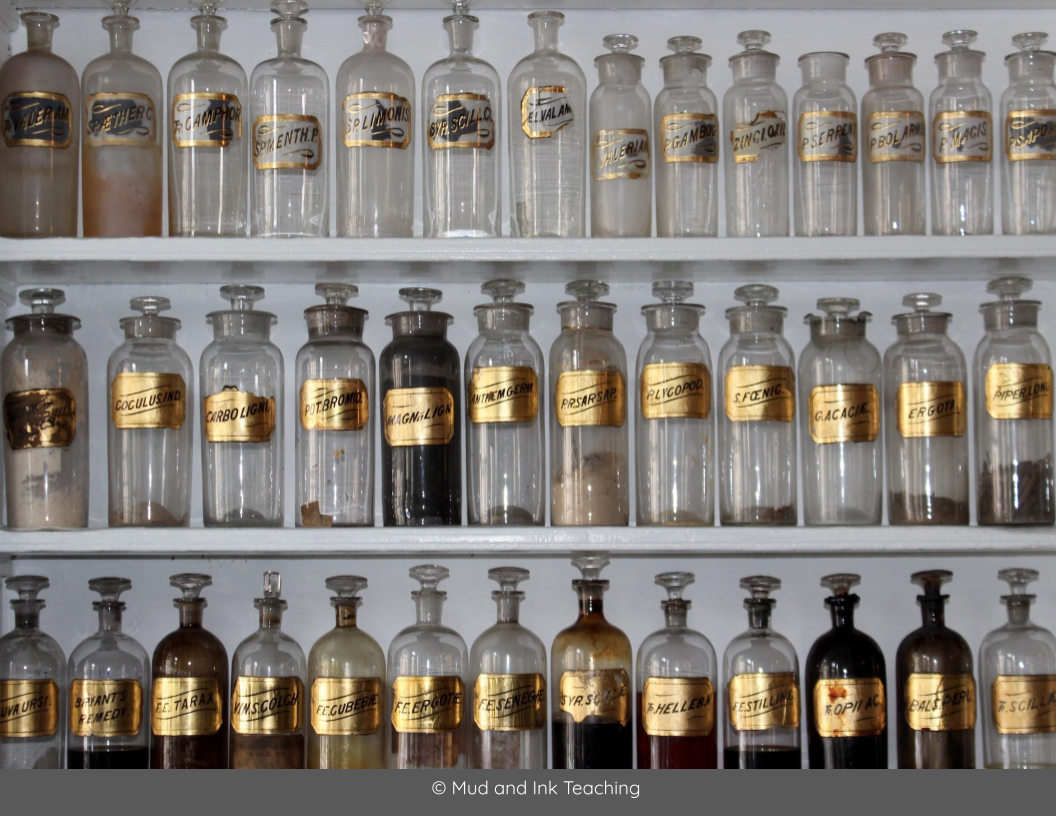
Since the theme of this Write the Room is Halloween (or gothic, or spooky, or whatever you want to call it!) I collect a series of images using Unsplash and Pixabay to be my stations and sources for student inspiration. Then, I print and hang each of the images included in my slide deck around the room, hallway, and other areas where my class is held. I like to make sure students are spread out as much as possible, so often times I include the hallway and keep my door open. It gives me more space for more images and room for students to spread out. I also try to place my images near a place where students can sit to write. Some students prefer to stand and stretch and I don’t have any problem with that, either.
Next, everyone chooses a starting place. Whichever image is in front of them, this image is paragraph one of their story -- and this is a story with no planning at all! We’re looking to engage the composer side of the brain and turn off the editor side of the writing brain (I wrote a lot about this in another blog post), so I instruct students to begin writing what they see in the image and that it’s the beginning of their story.
After a while (you might set a timer), students should stop right where they are and move to another image. The story will continue based on that image. After another while, students move again and again and again, each time adding to their stories.
When you get to the final segment of writing, let students know that this image holds the resolution of their stories, whatever that might be! At this point, students can submit what they’ve written, take it home for finalizing and tweaking, or add it to a writing portfolio to take out another day.


Write the Room Idea #2:
In this scenario, you are still working with the same stack of images as in option one. Print and hang each of the images included in this slide deck around the room, hallway, and other areas where your class is held. Again, if images are near a place where students can sit if they’d like, that’s ideal.
Next to each image, hang a large piece of white paper or giant post-it. You might limit the number of images you use based on the space you have for the white paper. Ask students to each individually claim an image. If you need more images, check Unsplash, Pixabay, etc. You can also print the deck twice because students won’t have time to get to every single image anyway.
At the starting image, tell students that they’ll have 2 minutes (or whatever time frame you’d like) to “tell the story” of the image. They should write freely, without editing or stopping, on the white paper next to the image. When the timer ends, tell students to stop. They will then rotate to a new image.
At the new image, give students time to read what was written. Now, students will have 2 minutes to ADD TO what was previously written OR start a new story. Continue rotating until students have “written the room”.
Are you ready to give this activity a try? I hope you do and I hope you let us all know in the comments how it goes!
SPOTLIGHT RESOURCE:
If you’re ready to go with a more in-depth study of Gothic fiction, get started with my Gothic Lit digital choice board. Check it out here!

ABOUT THE AUTHOR

Amanda is the author of Mud and Ink Teaching and a collaborative blogger on Teachwriting.org.
A high school English teacher of every level from ESL to AP Language, Amanda has made it her life’s work to encourage students and teachers to join her on an adventurous teaching and learning journey. Amanda is a full-time teacher author after spending thirteen years in the classroom. She writes curriculum for the high school level, coaches teachers 1:1, and travels with her family whenever possible. Amanda’s obsessed with poetry, argumentation, and showing students the power of taking chances in their writing. She is also the co-host of the podcast Brave New Teaching.
Visit Amanda on Instagram, Facebook, or Twitter for English teacher inspiration and powerful community.